How to Create a Real Estate Blog
I was recently talking on the phone with a family member who's returning to real estate in southern California after many years working as a consultant for one of the major real estate franchises. She asked my advice on the best way to go about setting up her new website. My suggestion: skip real estate websites, and make a blog instead!
Blogs have come a long way in the past few years, and now you can do just about everything you would do on a real estate website on your real estate blog. It's easy to get started:
1. Click this link: Real Estate Blog to go to Wordpress. Wordpress is in my opinion the best blog platform out there.
2. Click the big blue button to sign up (it's free).

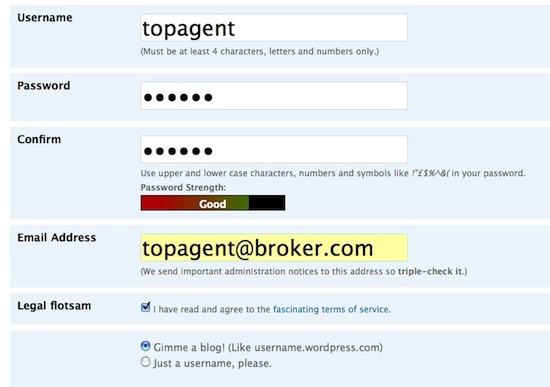
3. Pick a username, password, and email address. Make sure the button is checked next to "Gimme a blog!", then press next.

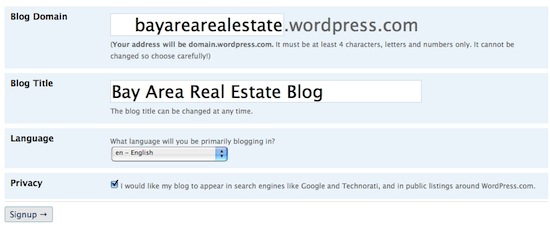
4. This next step is important: pick a good name for your blogs web address (what people will type into their browser to find your site). Almost all general names will be taken, so pick something specific to your area, but try to make it broad enough so you'll have flexibility in the future. For example, choose your city or your area, but I wouldn't recommend choosing a specific neighborhood or subdivision unless you're sure that's all you're going to focus on for the next few years.

5. You'll get an email from Wordpress, click the link in it to activate your account and then log in to your account.
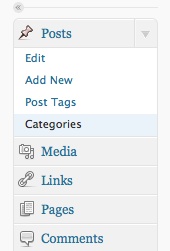
6. Once you're logged in, click "Add New" under the word "Posts" in the left-hand column.

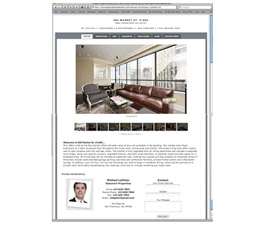
7. Write your first post, then click publish. That's it! If you'd like to create separate pages, click "Add New" under the word "Pages" in the left-hand column. There's a great deal more to learn, but you've now gotten started and are online! If you're ready for the next step, read 3 Easy Ways to Improve Your Real Estate Blog. Don't forget you can also link your single property websites to your blog to increase traffic!
Special Offer: Try Single Property Websites For Free

